15 Fall Nails for Beginners With Simple Step-by-Step Designs
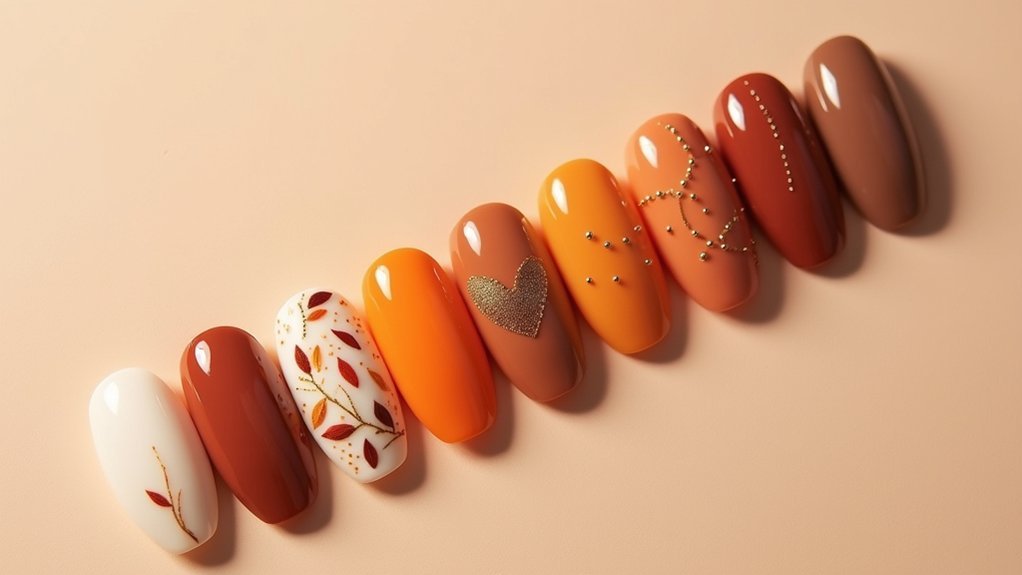
You can create polished fall nails without advanced skills or complex tools. Begin with a clean base, then build simple designs using rust, caramel, taupe, deep brown, and muted green polish. You’ll learn how to place pumpkin dots, shape leaf tips, layer cozy plaid, blend ombré, and add controlled glitter. Each technique relies on small, repeatable steps—and one detail can make every beginner design look more professional.
Simple Pumpkin Accent Fall Nails
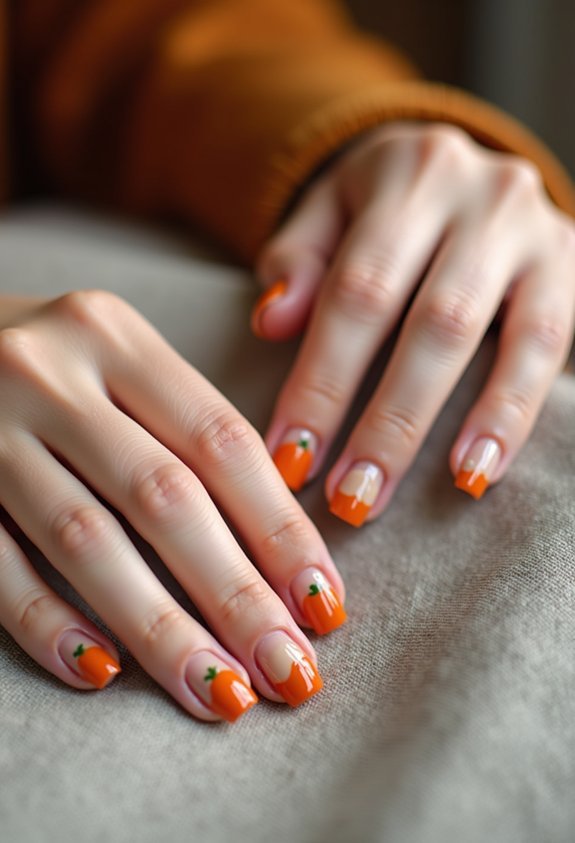
If you’re new to nail art, start with a simple pumpkin accent on one or two nails while keeping the rest a warm autumn shade. Apply a base coat, then paint each nail with rust, caramel, or deep brown polish. Let everything dry completely before creating the pumpkin. Use a dotting tool or the rounded end of a bobby pin to place a small orange circle near the nail’s center. Add a short green stem with a fine brush, and shape one tiny leaf if you feel confident. For definition, outline the pumpkin lightly with dark brown polish, using a detail brush and minimal pressure. Seal your design with top coat, floating the brush over the surface instead of dragging it across the artwork. Keep the shapes small, clean, and slightly varied for a handmade finish.
Warm-Toned Fall Nails With Dots
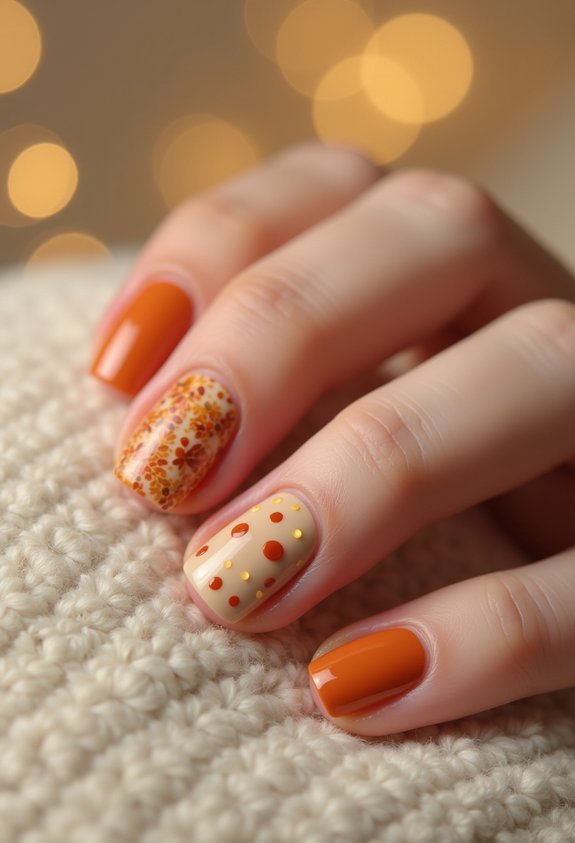
For an easy variation on the pumpkin accent, create warm-toned fall nails with small dots in rust, mustard, terracotta, and chocolate brown. Apply a sheer beige or creamy base coat, then let it dry completely. Use a dotting tool, bobby-pin tip, or toothpick to place one large rust dot near each cuticle. Add smaller mustard, terracotta, and brown dots around it, spacing them unevenly for a polished, organic pattern. Reload your tool before every dot, and wipe excess polish on foil to keep edges crisp. Vary the color order on each nail while repeating the same four shades. Once the design sets, seal it with a glossy top coat. Float the brush over the dots instead of pressing down, so you don’t smear their rounded shapes.
Easy Autumn Leaf Fall Nails
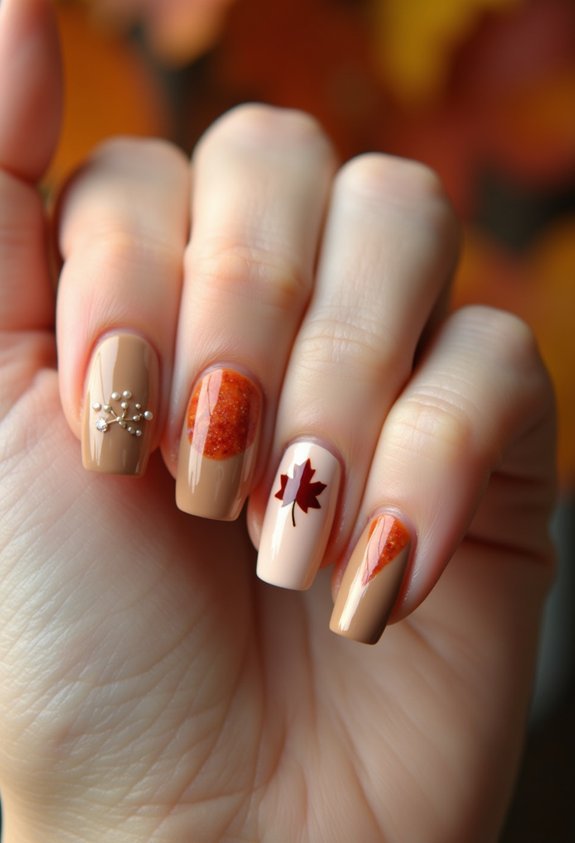
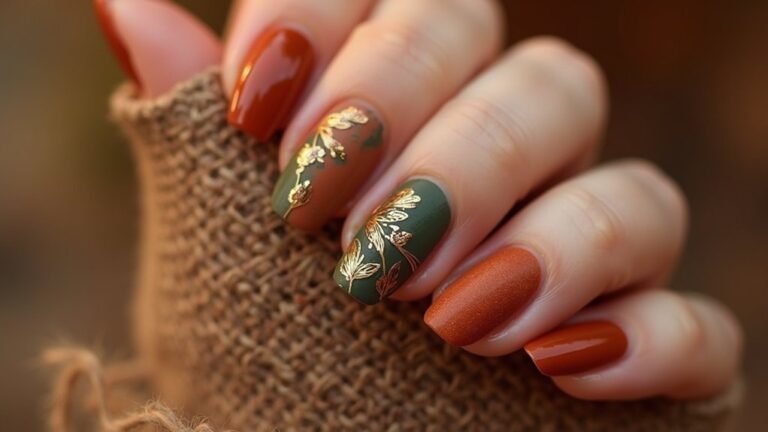
Create easy autumn leaf fall nails by painting a sheer cream or taupe base and letting it dry fully. Use a fine nail-art brush and rust, mustard, and deep brown polish to sketch tiny leaves. Start each leaf with a short, curved stem, then add two or three pointed lobes on either side. Keep the shapes small and slightly varied so your manicure looks natural. For an easier method, place three tapered dots around the stem and gently pull each dot outward with the brush tip. Let the leaves dry before adding a thin layer of top coat. Press lightly near the designs to prevent smearing. You can cluster leaves near the cuticle, trail them diagonally across each nail, or highlight one accent nail with several overlapping leaves.
Two-Tone Fall Nails for Beginners
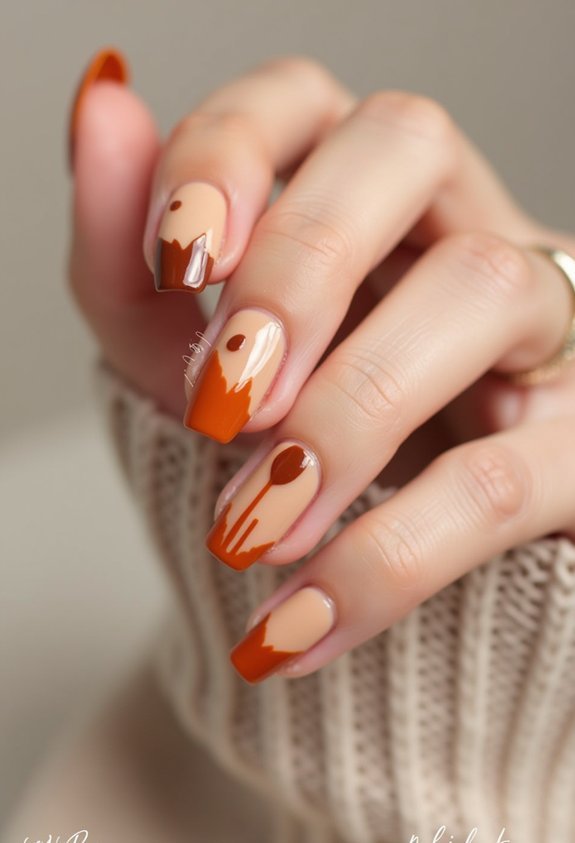
Two-tone fall nails give you a simple way to add seasonal color without detailed artwork. Choose two polishes with clear contrast, such as burnt orange and deep brown, mustard and burgundy, or olive and cream. Apply a thin base coat, then paint two even coats of your lighter shade. Let it dry fully to prevent dragging. For a clean split design, place striping tape diagonally across each nail, pressing the edges firmly. Brush on the darker polish, then lift the tape while the surface remains slightly wet. You can also paint alternating nails in each color for a faster look. Seal your design with a glossy top coat, capping the free edge. If polish floods your cuticles, clean the borders with a small angled brush dipped in remover.
Cozy Plaid Fall Nails
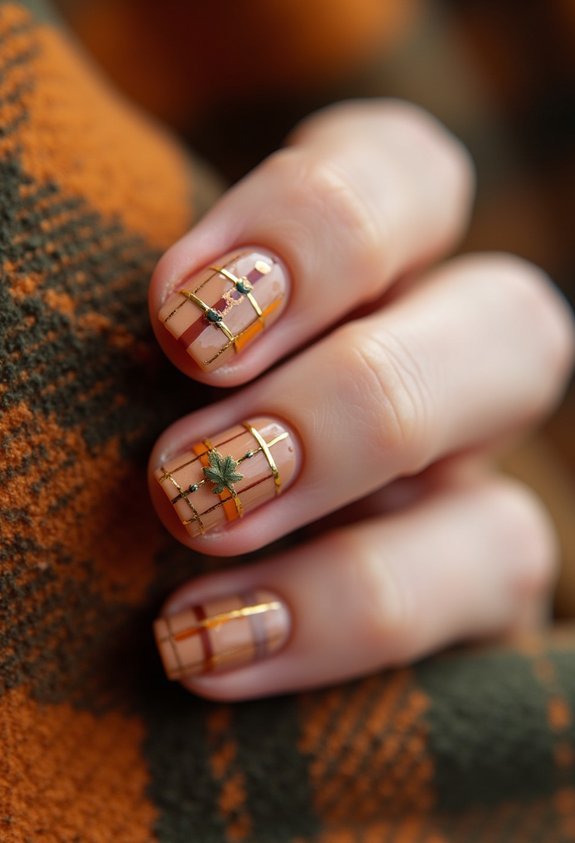
Cozy plaid fall nails look intricate, but you can build them with a few thin lines and warm seasonal shades. Start with a beige, caramel, or muted rust base, then let it dry completely. Use a striping brush to paint intersecting lines in chocolate brown, deep burgundy, and cream. Keep each stroke narrow and vary the spacing for a woven effect.
- Plan your pattern: Choose one dominant color and two accent shades.
- Layer carefully: Paint the lightest lines first, allowing brief drying time between colors.
- Seal the design: Finish with a glossy topcoat, brushing gently to prevent streaks.
For cleaner edges, steady your pinky on the table while you work. If a line looks uneven, don’t repaint the whole nail; let it dry, then refine it with a finer brush. Add a matte topcoat for soft, sweater-like texture.
Minimalist Fall Nails With Tiny Leaves
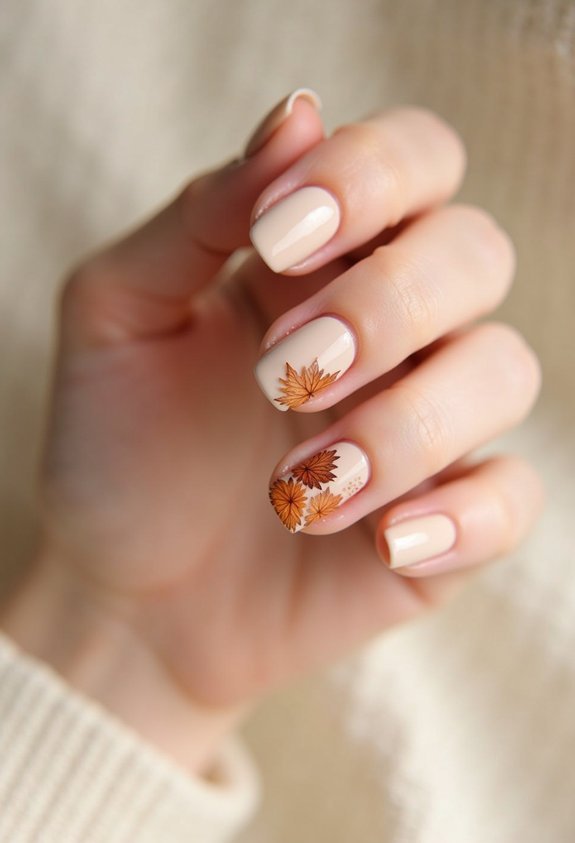
For a softer look than plaid, paint a nude, taupe, or muted olive base and add tiny leaves near the cuticle or along one side of each nail. Let the polish dry fully, then use a dotting tool or fine liner to place a short stem. Press two small angled dots beside it, dragging each toward the tip to form pointed leaves. Keep the pattern airy; two or three leaves per nail look polished.
| Step | Technique |
|---|---|
| Base | Apply two thin coats |
| Stem | Draw one delicate curve |
| Leaves | Drag paired dots outward |
Choose rust, mustard, or deep brown for contrast, and vary placement subtly. Seal your design with top coat, floating the brush lightly so you don’t smear the details. Clean edges with a small brush dipped in remover.
Beginner-Friendly Pumpkin Patch Nails
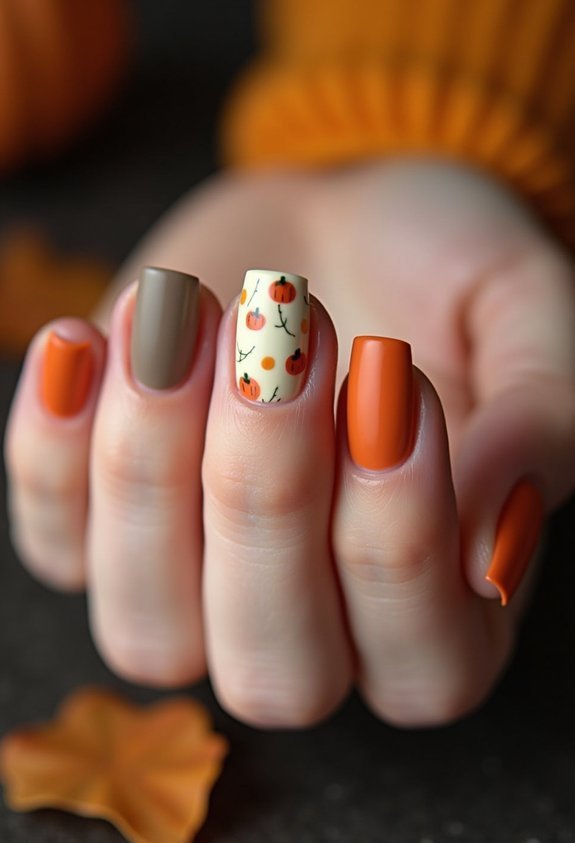
Create a simple pumpkin patch by painting a nude, cream, or muted green base, then adding small orange pumpkins near the cuticle or across one accent nail. Use a dotting tool or toothpick to build each pumpkin:
- Make two connected orange dots for a rounded shape.
- Add a tiny green stem with a fine brush.
- Draw one curved line for a vine or leaf.
Let the orange dry before adding green details to prevent smudging. Keep pumpkins slightly varied in size so the design feels natural, but leave enough space between them for clean edges. If your hand isn’t steady, place pumpkins only on your ring finger and paint tiny orange dots on neighboring nails. Seal everything with a glossy top coat, brushing gently over each design to protect the fine stems and vines.
Matte Brown Fall Nails With Gold Details
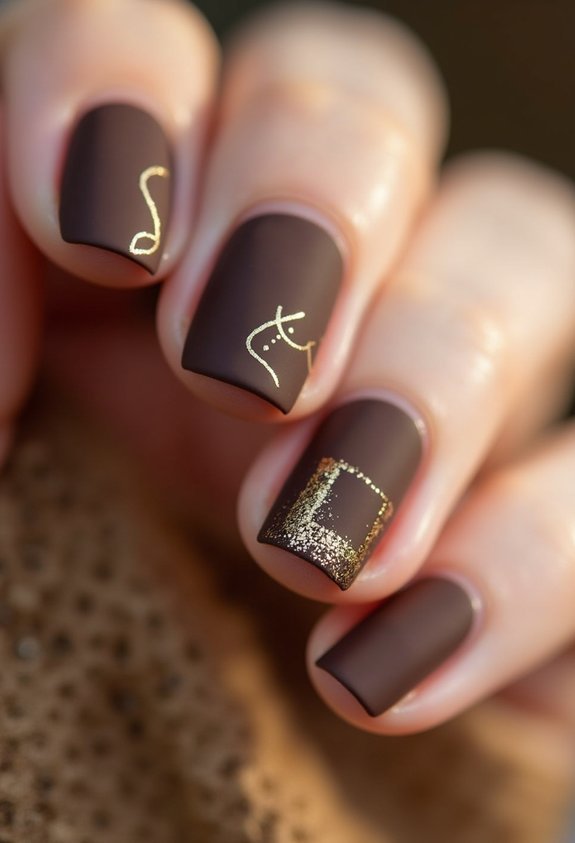
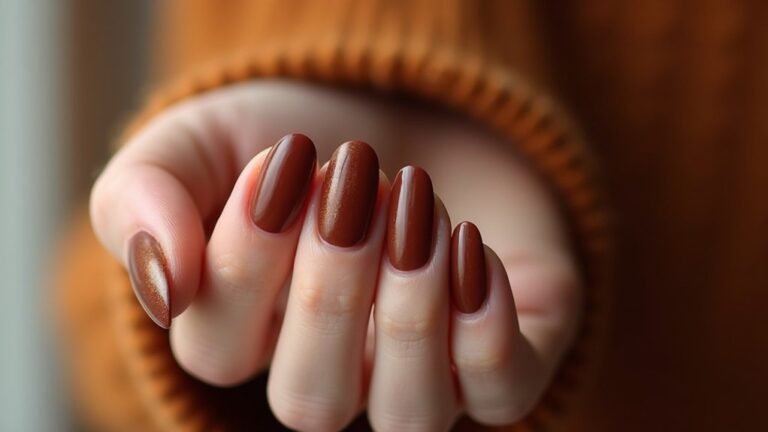
Matte brown nails give you a warm fall base, while small gold accents add polished contrast without making the design difficult. Start by shaping your nails, gently buffing the surface, and wiping away dust. Apply a thin base coat, then add two even layers of chocolate-brown polish, letting each layer dry completely. Seal the color with a matte topcoat and wait until it feels fully set.
For detail, use a fine nail-art brush or dotting tool with metallic gold polish. Paint one narrow diagonal stripe near the cuticle, add tiny gold dots along one side, or create a simple leaf outline. Keep your pressure light so the matte surface stays clean. Let the accents dry, then protect only the design with a small dab of glossy topcoat for raised contrast.
Easy French Tip Fall Nails
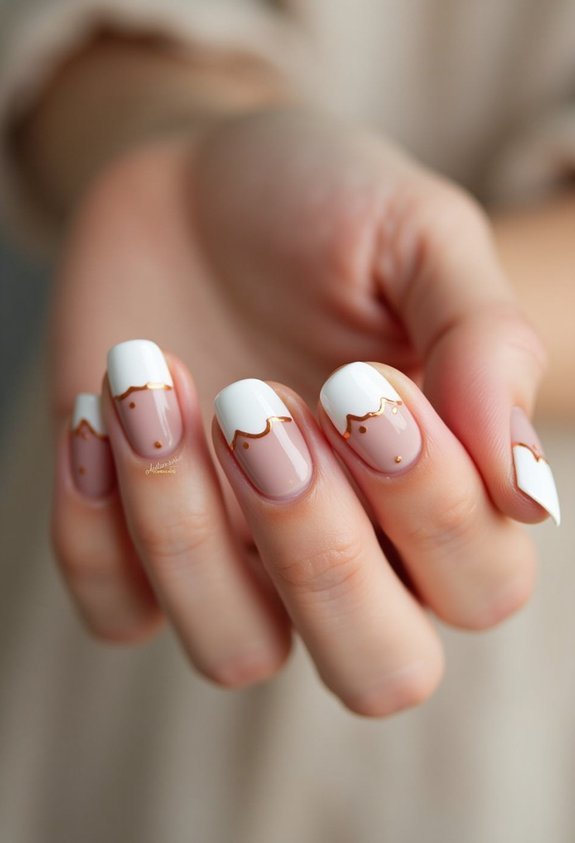
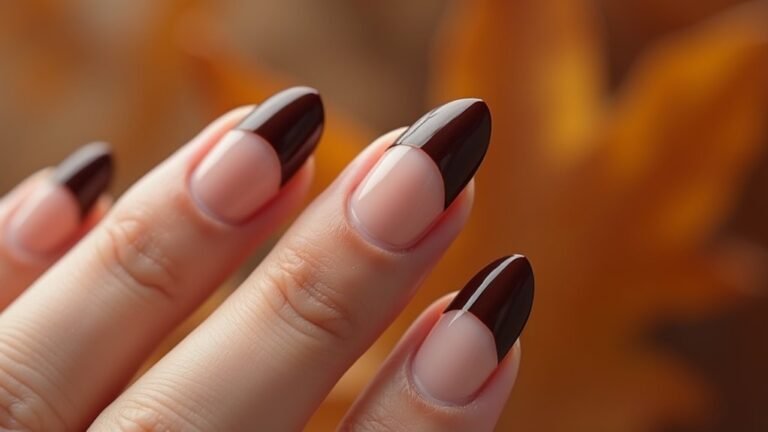
French tips become fall-ready when you swap classic white for shades like burnt orange, deep brown, olive, or burgundy. Start by shaping and buffing your nails, then apply a base coat. Let it dry completely before painting a thin neutral layer.
For clean tips:
- Place a French-tip guide slightly below each nail edge.
- Brush your fall color across the exposed tip, using one smooth stroke.
- Peel off the guide while the polish remains wet, then seal everything with top coat.
If you prefer freehanding, anchor your pinky on a table and outline each smile line from the sides toward the center. Use a detail brush dipped in remover to sharpen uneven edges. Try alternating tip colors across your nails, or pair one accent nail with a double-line tip for subtle contrast. Thin coats dry faster and prevent bulky edges.
Sweater-Inspired Fall Nails
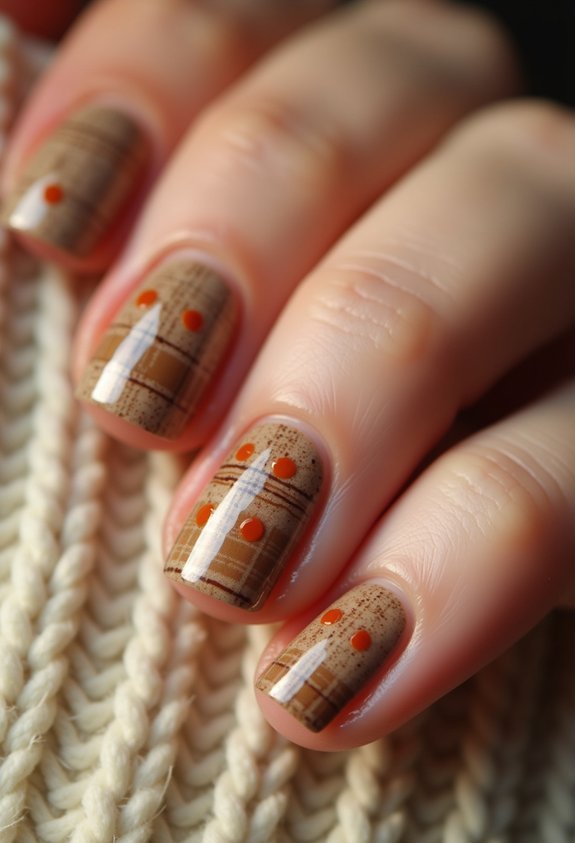
Trade crisp French tips for the cozy texture of sweater-inspired fall nails. Choose a warm base—oatmeal, rust, cocoa, or plum—and let it dry completely. Apply two thin coats for even coverage, then use a detail brush and matching polish to draw short cables, diamonds, or ribbed lines. Keep your pressure light so raised patterns look tidy, not bulky. Seal one nail at a time with matte topcoat; it emphasizes the knitted effect.
| Step | Technique |
|---|---|
| 1 | Prep, buff, and dehydrate nails |
| 2 | Apply two thin base coats |
| 3 | Paint symmetrical sweater motifs |
| 4 | Cure or dry each layer |
| 5 | Finish with matte topcoat |
Work on one accent nail first, then repeat the pattern across selected nails. If lines wobble, let them dry, gently smooth the surface, and try again with less polish. You’ll get a soft, dimensional finish without specialized tools.
Fall Nails With Acorn Accents
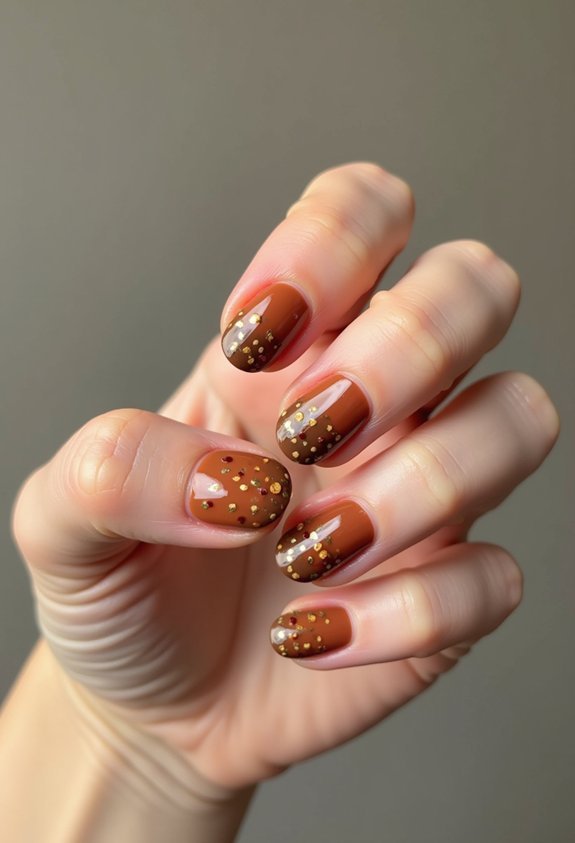
Give your fall manicure a woodland touch with acorn accents on a warm base of caramel, olive, cream, or chocolate. Paint two thin coats, letting each dry before adding art. Use a dotting tool to create the acorn’s rounded cap in chestnut brown, then draw a smaller tan oval beneath it. Add a curved stem with a fine detail brush, and outline the cap with tiny crosshatch lines for texture.
- Plan placement: Feature one acorn on each ring finger for a balanced look.
- Layer carefully: Let the base and cap dry before adding the lighter body.
- Seal the design: Brush on top coat without pressing down, or you’ll blur details.
For dimension, dab a minuscule cream highlight on the acorn body. Keep your strokes short and controlled, and clean edges with a small brush dipped in acetone. Finish with glossy top coat.
Simple Ombre Fall Nails
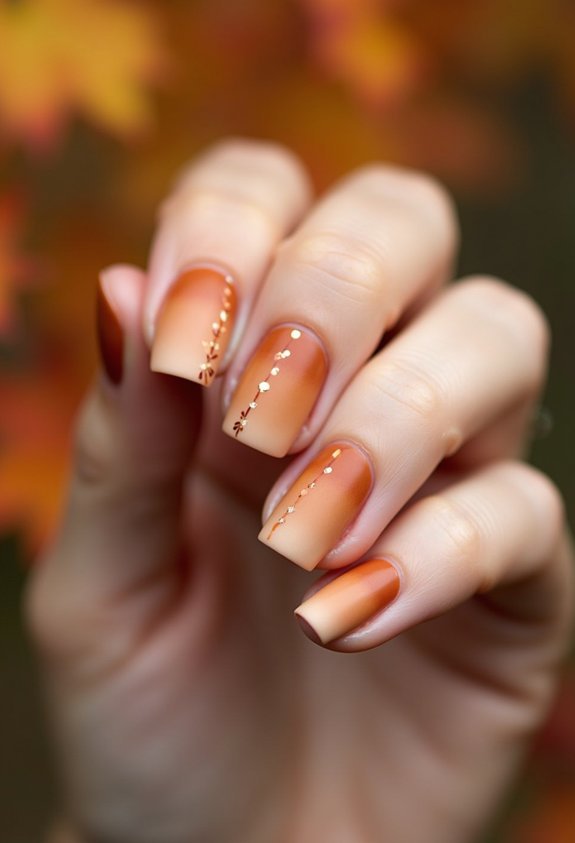
Create a simple ombre fall manicure by blending two seasonal shades, such as terracotta into cream, mustard into rust, or olive into chocolate. Prep your nails, apply a base coat, and let it dry. Paint each nail with the lighter color; use two thin coats for even coverage. On a makeup sponge, brush the light shade beside the darker shade, slightly overlapping their edges. Dab the sponge onto your nail with gentle, short taps, moving from the tip toward the center. Refresh the sponge after every two nails to keep the gradient crisp. Repeat until the blend looks smooth, then clean your cuticles with a small brush dipped in remover. Seal your design with a glossy top coat, dragging it lightly over the free edge to prevent chips.
Cute Mushroom Fall Nails
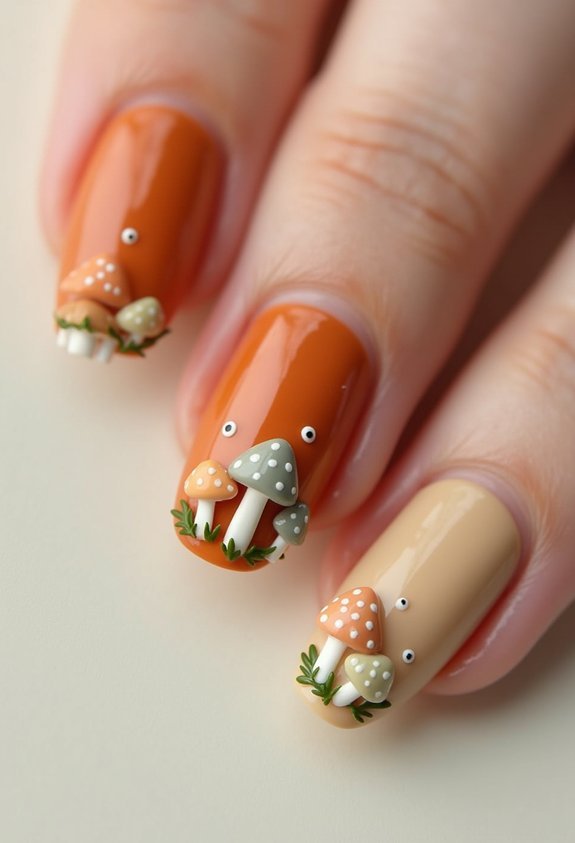
For a cute mushroom fall manicure, paint tiny toadstools over a warm cream, caramel, or mossy-green base. Let each layer dry before adding details, so your shapes stay crisp. Use a dotting tool or toothpick to build simple caps and stems:
- Place two uneven red, rust, or ochre dots for each cap.
- Drag a fine brush downward to create slender ivory stems.
- Add tiny cream spots, then seal everything with topcoat.
Vary the mushroom sizes and tilt a few caps for a playful woodland scene. Keep your background uncluttered, especially if you’re new to nail art. For extra dimension, outline selected caps with deep brown polish, using a light touch rather than a thick border. If freehand dots feel difficult, practice on paper first, then work from your pinky toward your thumb.
Colorful Fall Nails With Leaf Tips

Colorful fall nails with leaf tips bring seasonal detail to a simple manicure without requiring advanced skills. Paint each nail a different muted base, such as cream, sage, rust, mustard, or plum, and let it dry completely. Use a fine liner brush to outline two or three small leaves near each tip. Start with a short stem, then add pointed, curved leaf shapes branching from it. Fill the leaves with contrasting colors, keeping the brush lightly loaded for clean edges. For easier placement, sketch dots first to mark each leaf’s center and endpoints. Add a thin outline only after the color dries, then seal your design with clear topcoat. You’ll create colorful, balanced tips by varying leaf sizes while leaving enough negative space to keep the manicure polished.
Glittery Autumn Fall Nails for Beginners
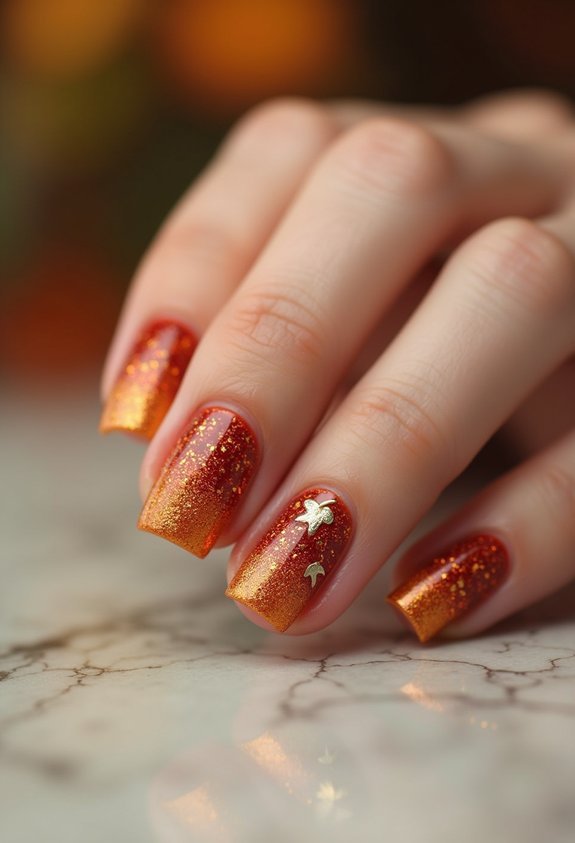
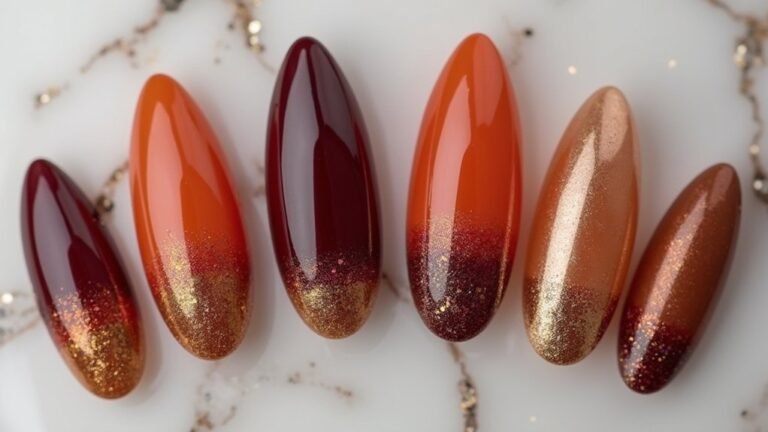
A glittery autumn manicure adds seasonal sparkle without requiring detailed nail art. Choose a warm base, such as cinnamon, plum, or caramel, then apply two thin coats, letting each dry fully. For controlled shimmer, use a makeup sponge to press glitter onto the tips or center of each nail. Seal the gradient with topcoat, gently wrapping the free edge to prevent chipping.
- Paint your nails with base coat.
- Dab gold glitter over a fall-colored polish, concentrating it near the tips.
- Finish with glossy topcoat and clean the edges.
You can create an accent nail by layering chunky copper glitter over an opaque background while keeping the remaining nails subtle. If loose glitter feels messy, use a fine shimmer polish and build coverage gradually. Remove mistakes with a small brush dipped in acetone, then moisturize your cuticles after everything sets.
Conclusion
With these 15 beginner-friendly fall nail ideas, you can build polished designs without complicated tools. Start with clean, dry nails and a smooth base coat, then work in thin layers for better control. Use dotting tools, toothpicks, or fine brushes to shape pumpkins, leaves, acorns, mushrooms, plaid, and ombré blends. Let each layer dry before adding details, and float your top coat over the surface to protect the art. Warm colors make every manicure feel instantly autumn-ready.